How to Tint Windows on a Car
It's always best to hire professional tinting services, but if you are curious to learn how to tint windows on a car, this guide is for you. Click now.

Why do people tint their car windows? Well, tinted car windows are a great way to reduce heat and get protection from UV rays. Not only that, but they also improve privacy, reduce car seat fading, and offer glass shatter protection.
If you're curious about learning how to tint windows on a car, we've got you. While it's recommended to hire professional window tinting services for optimal results, understanding the process can be helpful.
In this article, we'll provide step-by-step instructions on how to tint car windows. It's essential to approach window tinting with precision and attention to detail. Let's delve into the process together!
Gathering the Necessary Materials
The first step to learning how to tint car windows is gathering the essential materials. Window tinting materials include but aren't limited to:
- Window tint film
- Spray bottle filled with a soapy water solution
- Squeegee or credit card
- Sharp utility knife
- A heat gun
- Lint-free cloths
Ensure you have all these items ready before you begin. Additionally, it's also necessary that you find a clean workspace to tint car windows.
Preparing the Windows
Before proceeding with window tinting, it's crucial to conduct a thorough window inspection. Check for any existing damages, such as cracks or chips, as these can impact the tinting process. Addressing these issues beforehand ensures a smooth tint installation.
If there are no damages, proceed to clean the windows thoroughly. Use a lint-free cloth and a window cleaner to remove any dirt or debris. This step is vital for achieving a smooth and flawless tint.
Measuring and Cutting the Tint Film
Measure each window carefully, allowing a slight excess on all sides. Lay the tint film on a clean surface and use the measurements to cut it accordingly. Remember to cut the film slightly larger than the window size to allow for adjustments during installation.
Accurate measuring and cutting are fundamental steps in learning how to tint windows. Such ensures a proper fit and seamless application of the film on each window pane.
Applying the Tint Film
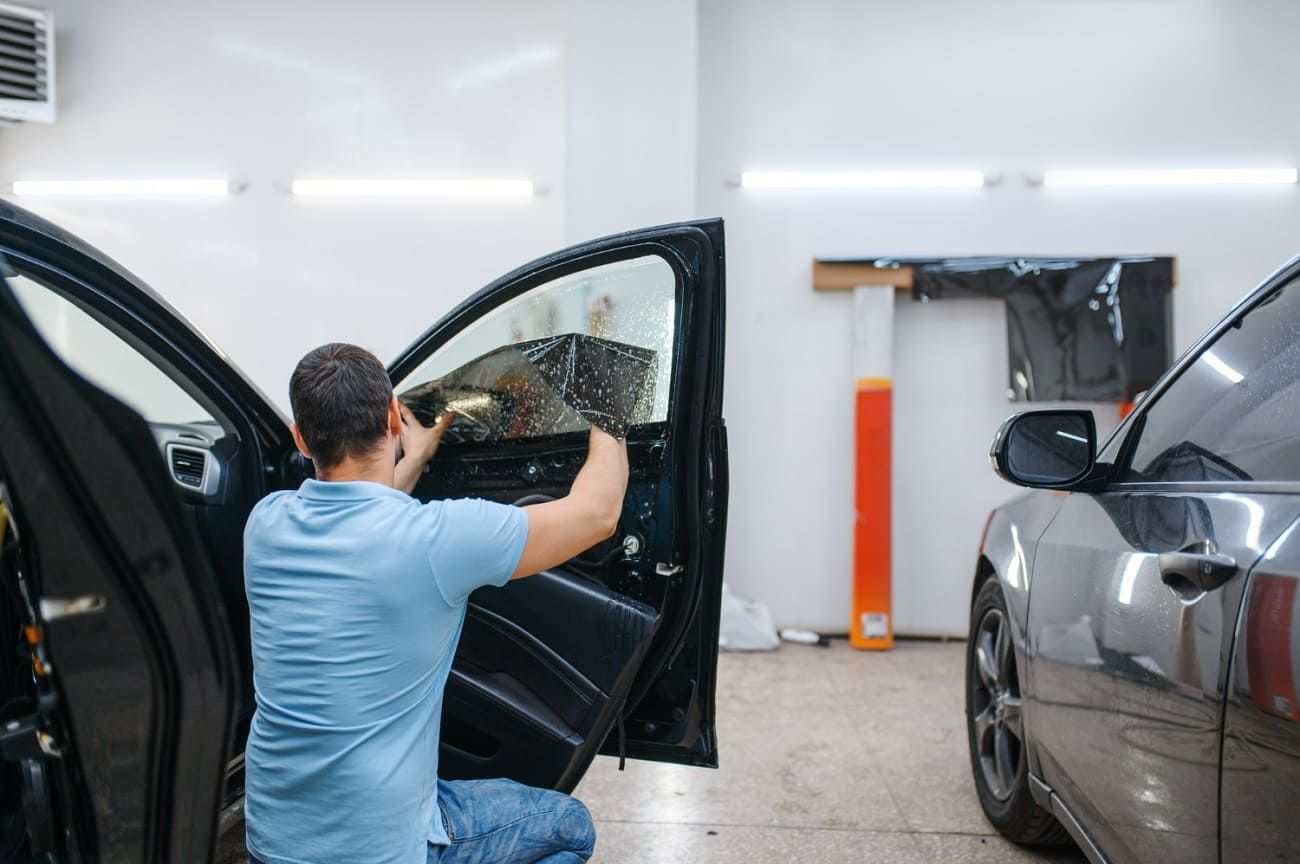
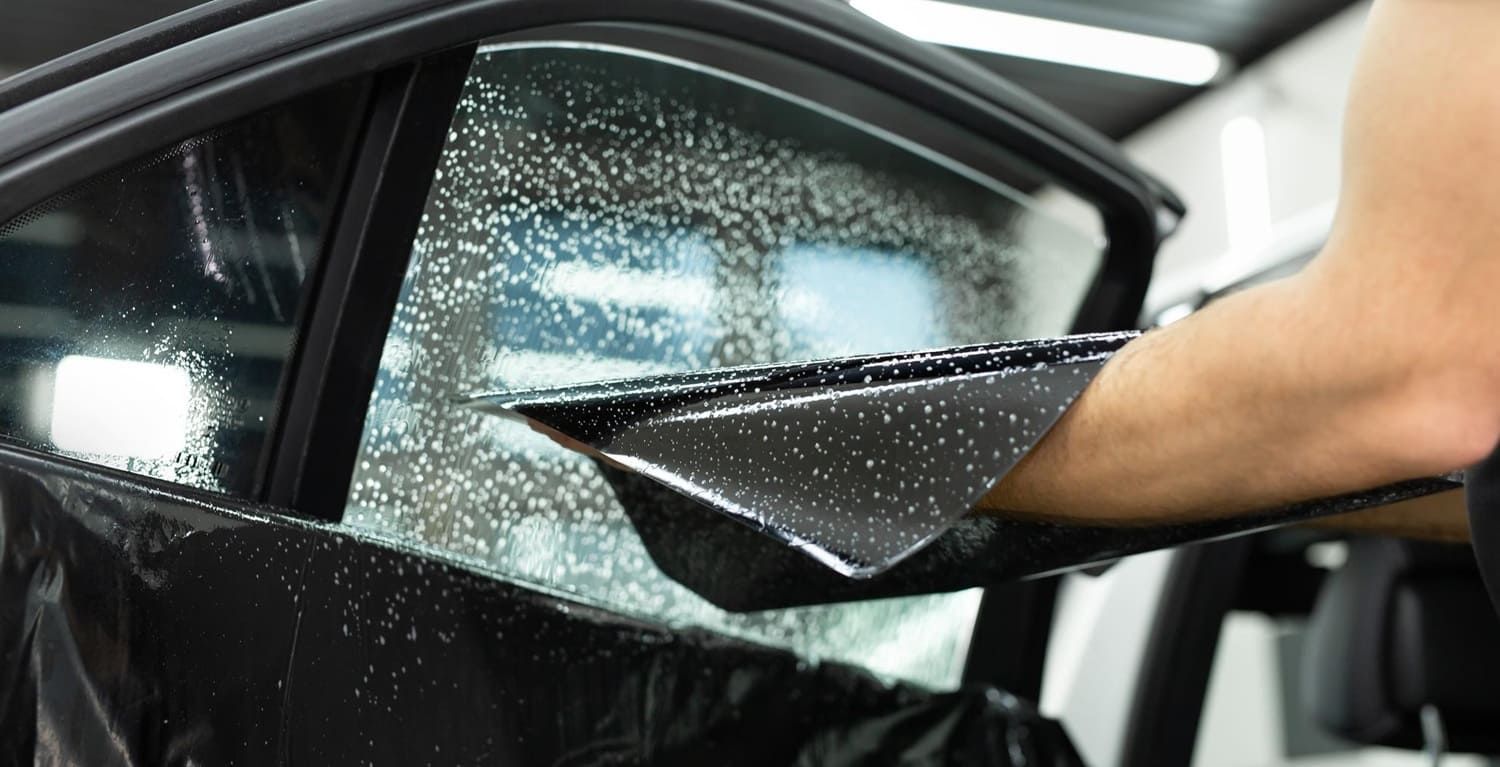
Spray a soapy water solution onto the inside of the window, creating a thin layer. Peel off the backing of the tint film, taking care not to touch the adhesive side.
Align the film with the window and gently press it onto the wet glass surface. Use the squeegee or credit card to remove air bubbles and excess water from beneath the film.

Trimming and Shaping the Tint Film
Once the film is securely attached, use a utility knife to trim any excess film around the edges. Take your time and make precise cuts to achieve a clean and professional look.
If needed, use the heat gun to carefully heat and shape the film. Remember, your goal is to allow the tint film to conform to the window's curves and edges.
Achieving clean cuts while maintaining a professional appearance can be tricky without experience. Hence, consider utilizing professional window tinting services for a flawless finish.
Letting the Tint Set and Dry
After applying the tint film, it's important to let it set and dry properly. Leave the windows untouched for at least 48 hours. This waiting period ensures that the tint adheres correctly and minimizes the risk of peeling or bubbling.
How to Tint Windows: Enjoy Car Functionality and Aesthetics
To sum up, learning how to tint windows can greatly enhance the look and functionality of your vehicle. While this guide has provided detailed instructions, it's important to know that professional window tinting services can deliver optimal results with their expertise and specialized tools.
Ready to experience the benefits of professional window tinting? Get in touch with Solar X of the Palms today for expert assistance. Take the first step toward transforming your car's windows!


